Tag: woodworking

  • Sharpening tools

    When I took up woodworking and bought some chisels a while back, I got slightly disappointed. The chisels were OK, but not as sharp as I would have liked. I have three vintage Stanley planes. Two of them were really sharp upon arriving, but they had also become duller over time. So it was time to get into sharpening

    After some investigation I bought diamond plates as they were an easy start. I also bought a jig to hold chisels and plane blades.

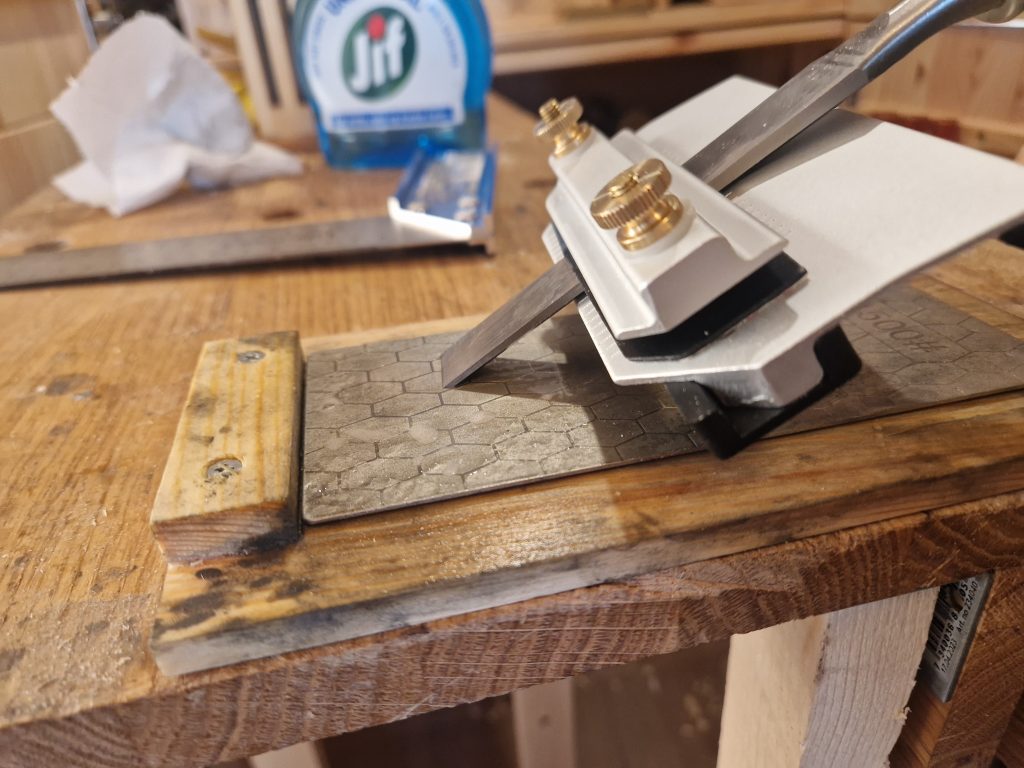
    The diamond plates are fast to set up. The five plates go from 400 grit to 2500 grit. This made my tools a lot sharper, but I ran into some problems

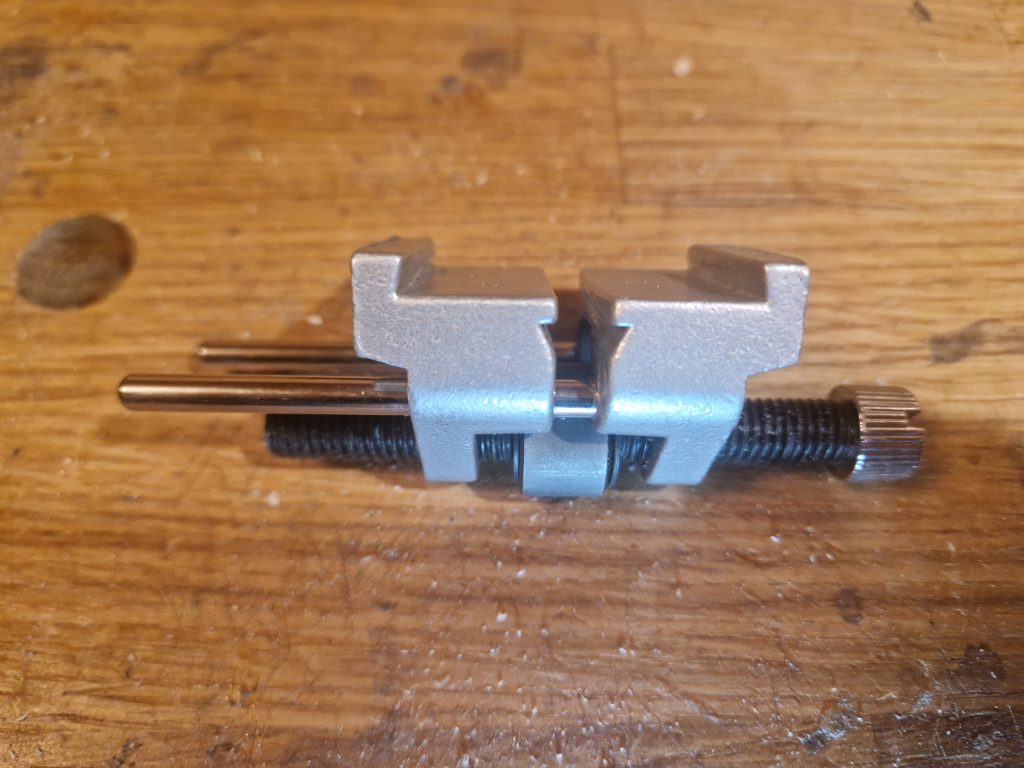
    The jig was also quite cheap. You clamp on the plane blades or chisels from the side. A small wheel underneath makes it easy to roll back and forth over the diamond plates. But the wheel is too narrow, so it is easy to make an uneven pressure on the blade. In addition, it didn’t hold the blade square. I tried to adjust this many times, but the blade was always sharpened with a skew which was not OK. So therefore I bought a new, and better one from hoggjern.no (my favorite woodworking shop). This one is from Narex.

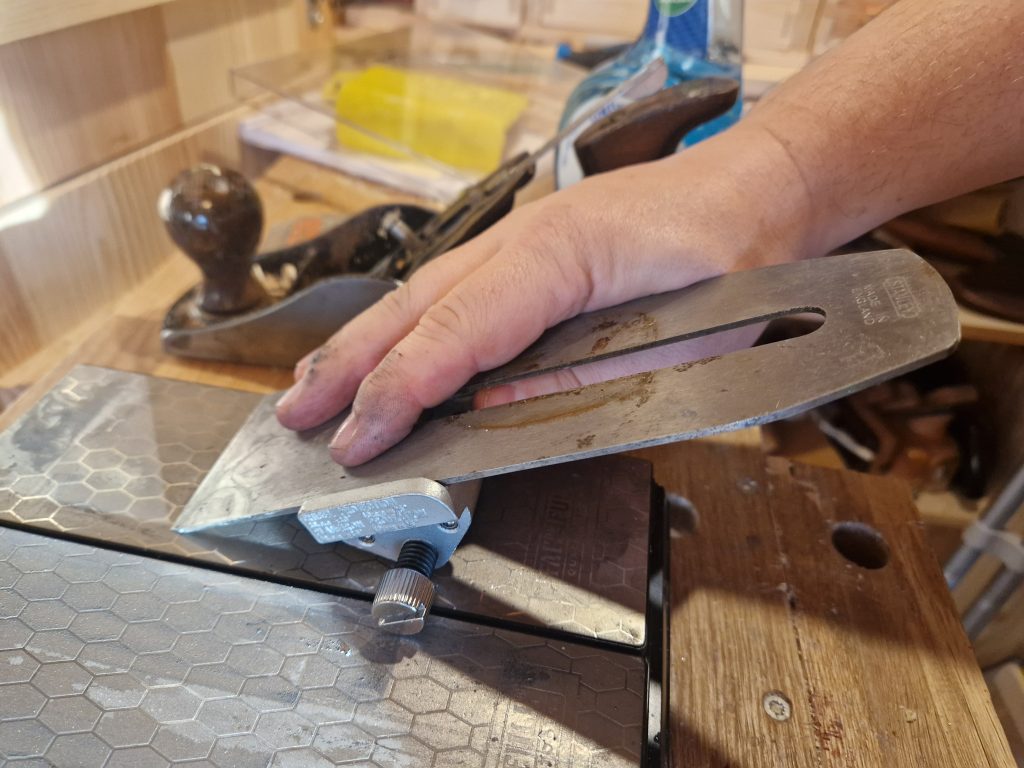
    This jig is better for two reasons. The first reason is that the wheel is much wider, which makes it easier not to get more pressure to one side

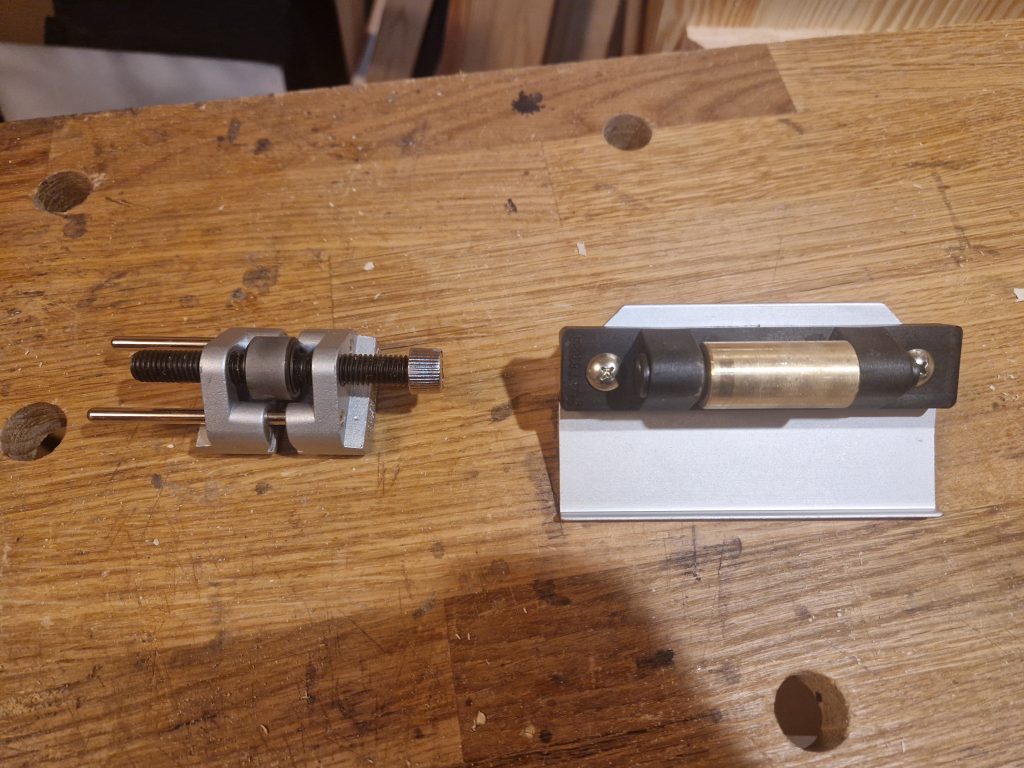
    It is quite a difference compared to the old one. The second reason is that it is easy to hold it square.

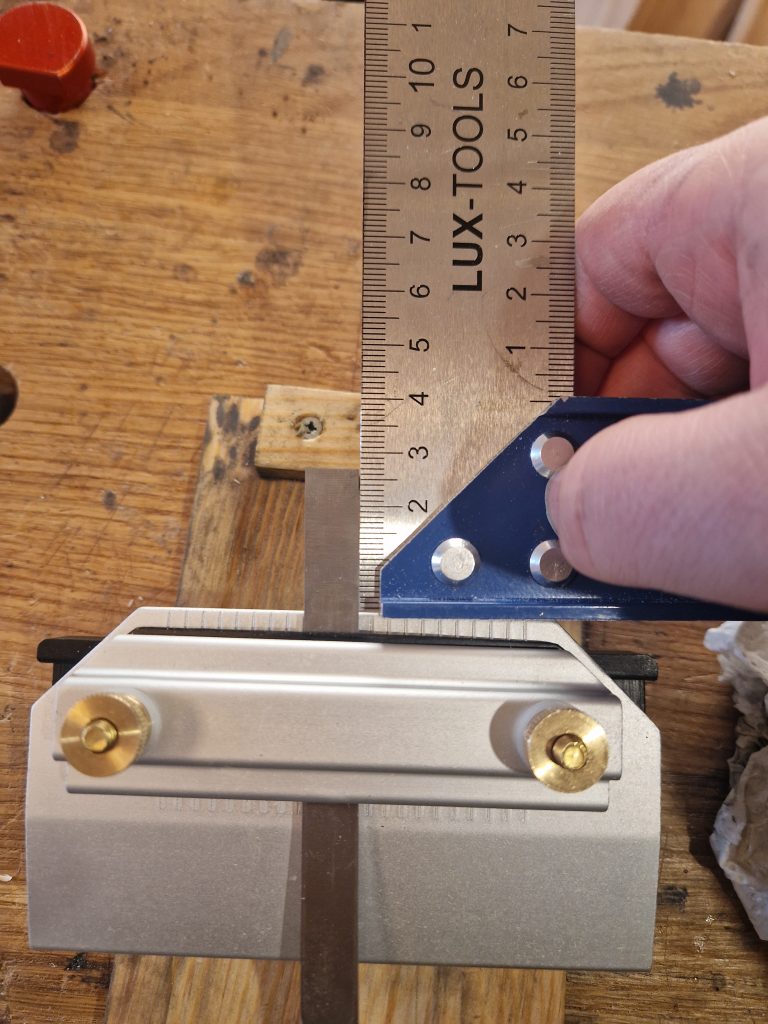
    The guides makes it quite easy to adjust by sight only, but you can also check it with a square. I did, however, mess this up at first. If the two tightening screws are uneven (lower on one side), you end up sharpening more to one side. This is easy to avoid as soon as you are aware of it, though. The result was much better.

    My diamond plates were cheap, and I can see signs of wear already. I therefore wanted to try another option. Instead of buying better diamond plates, I wanted to try wet stones.

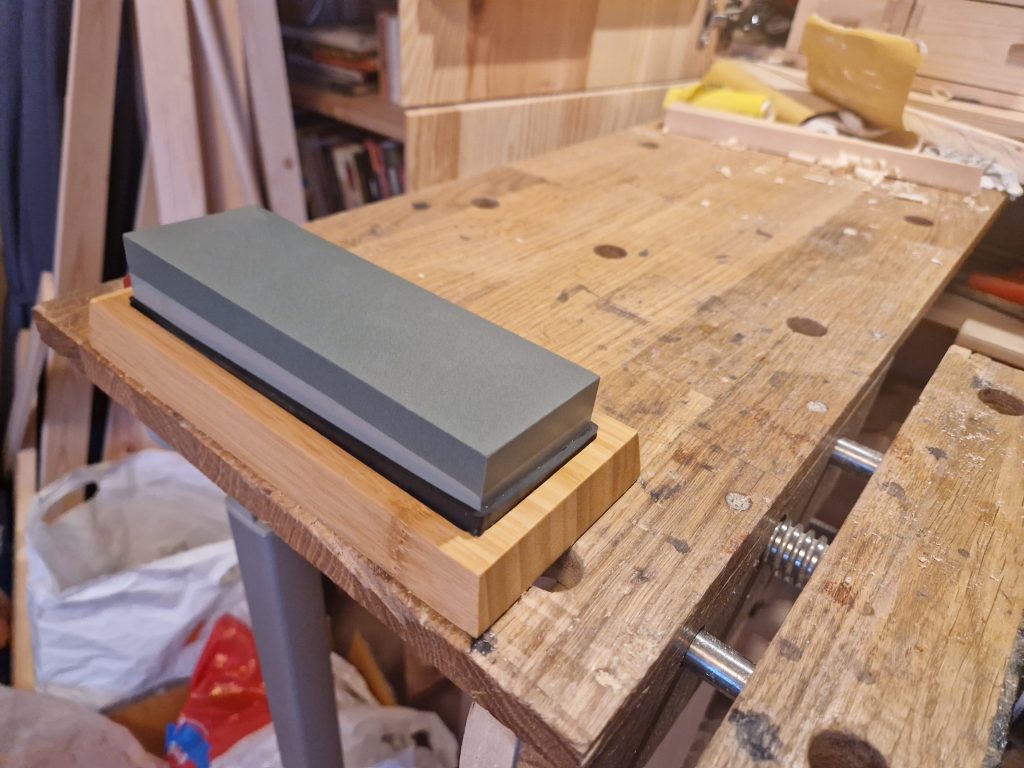
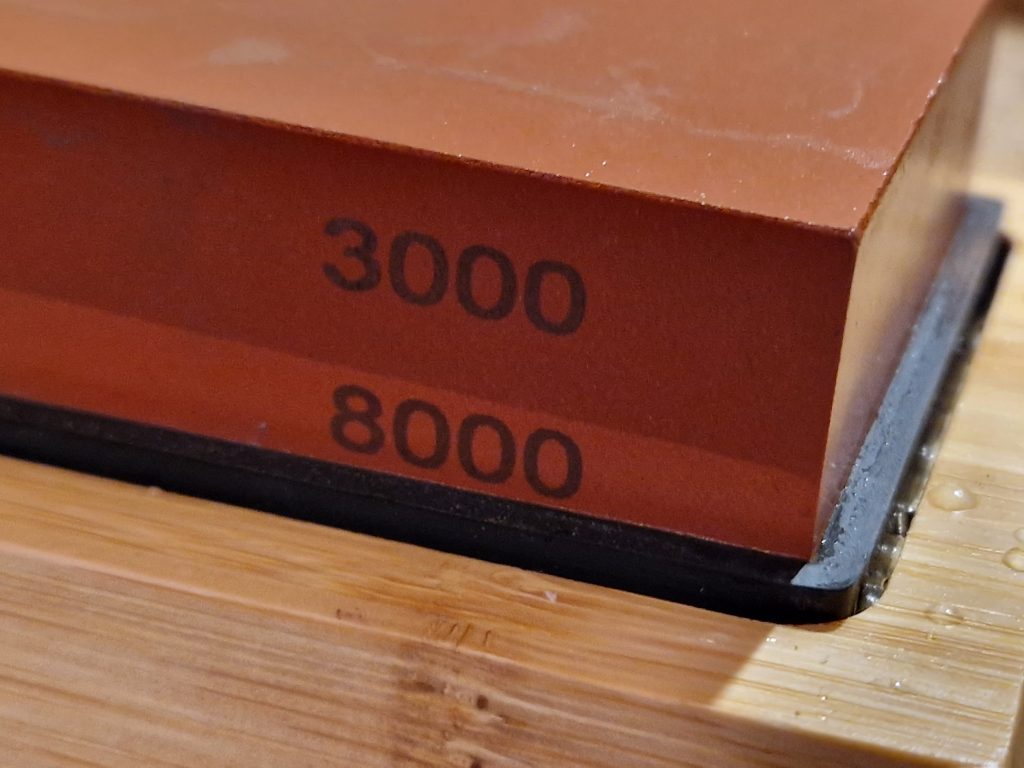
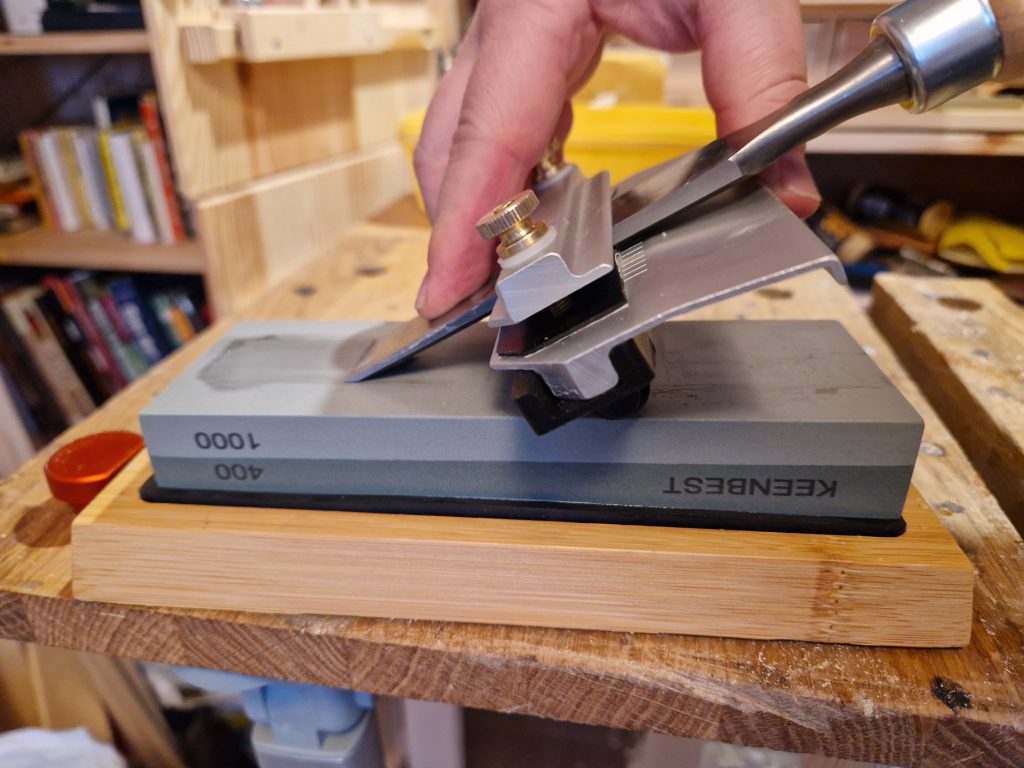
    I got two stones with different grits on each side. I got 400, 1000, 3000 and 8000 grit sides.

    They need to be soaked for at least 10-15 minutes before use, according to the manufacturer, but I see YouTubers mentioning hours, so they either have to be constantly in water, or you need to plan ahead. It is also easier to get water around your workbench with this, but they were easy to use.

    After sharpening, with diamond plates or wet stones, you should use a leather strop for the finish. I have leather on a piece of wood and use Dialux sharpening paste on it before doing the finish by hand.

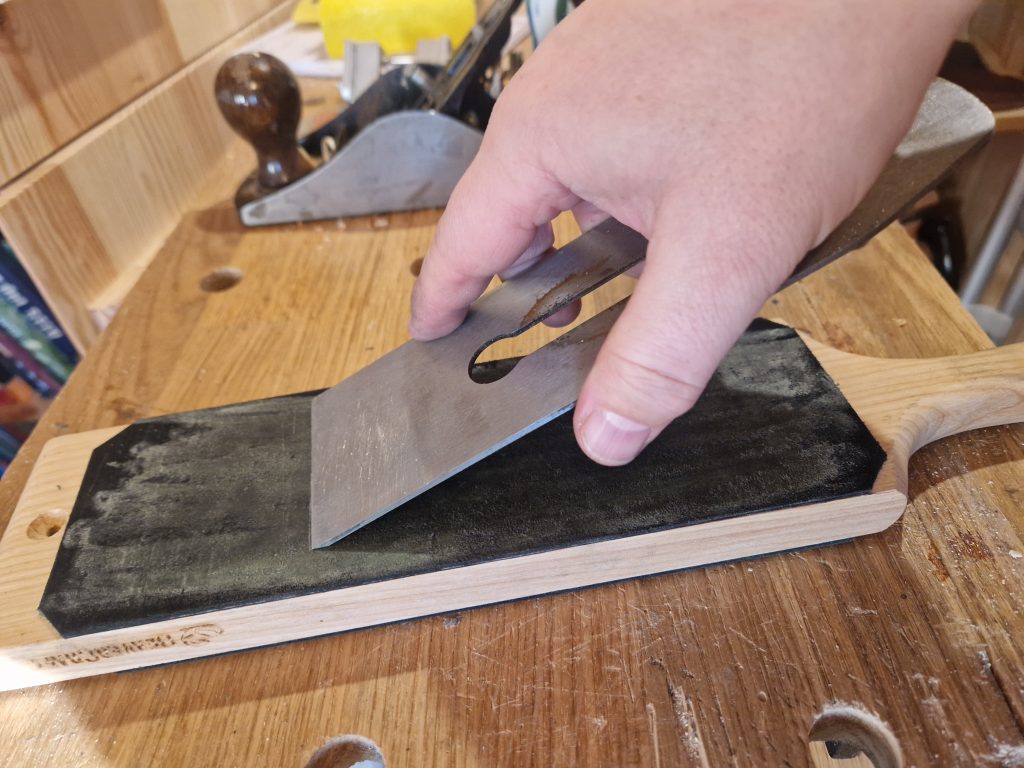
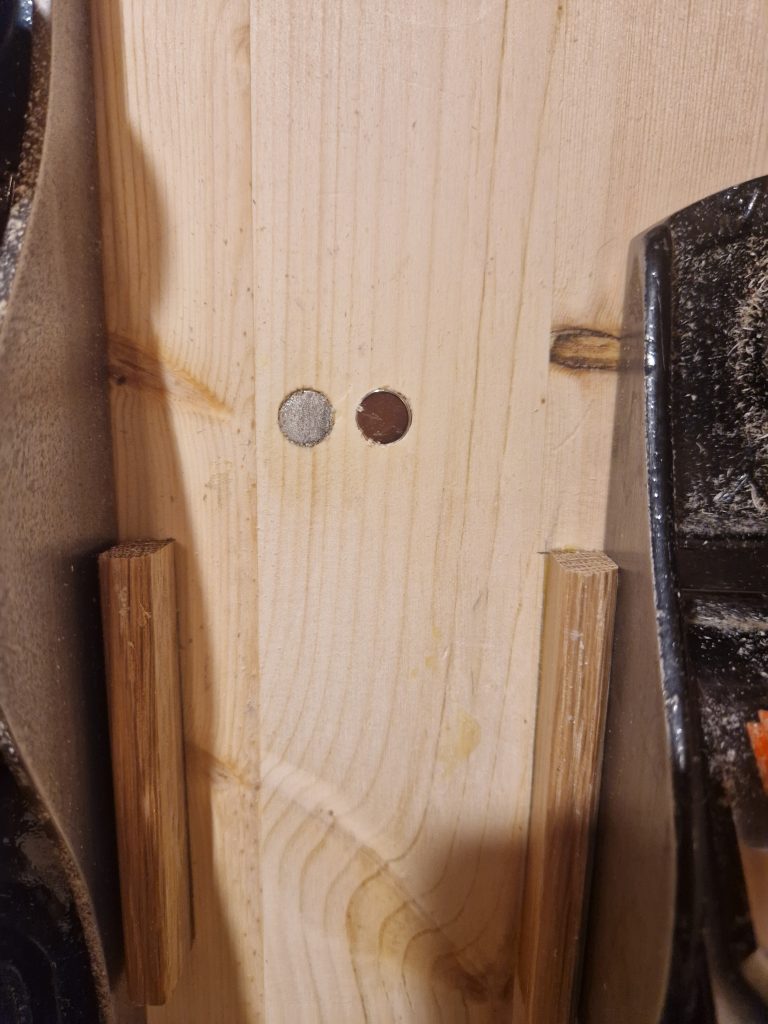
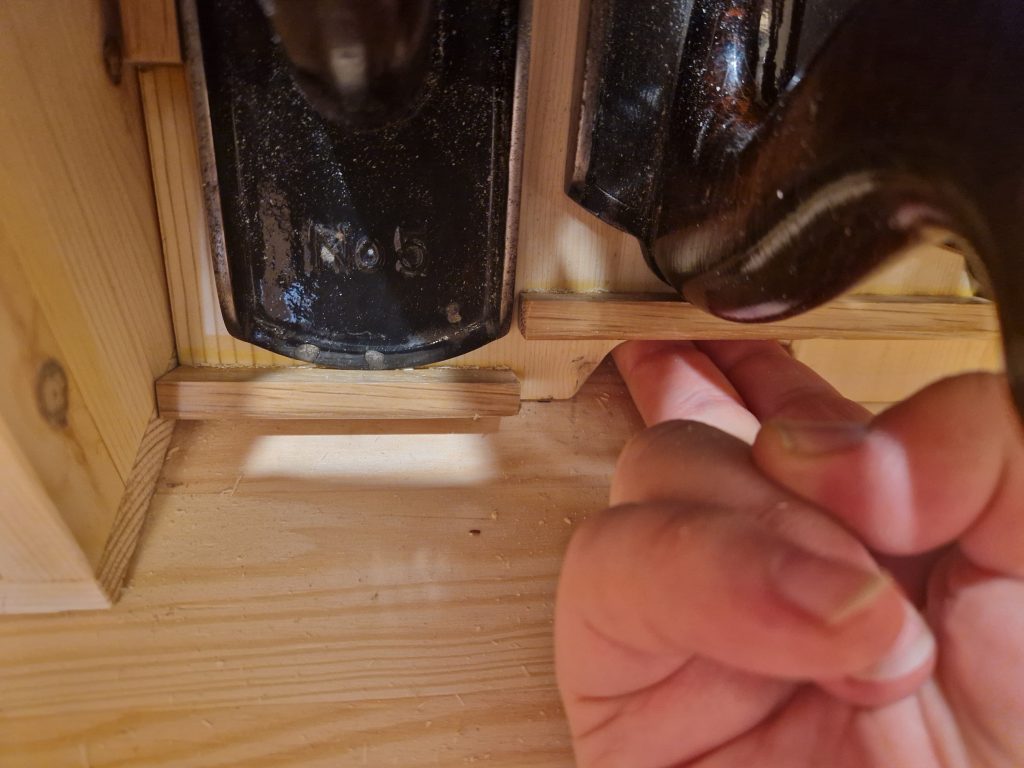
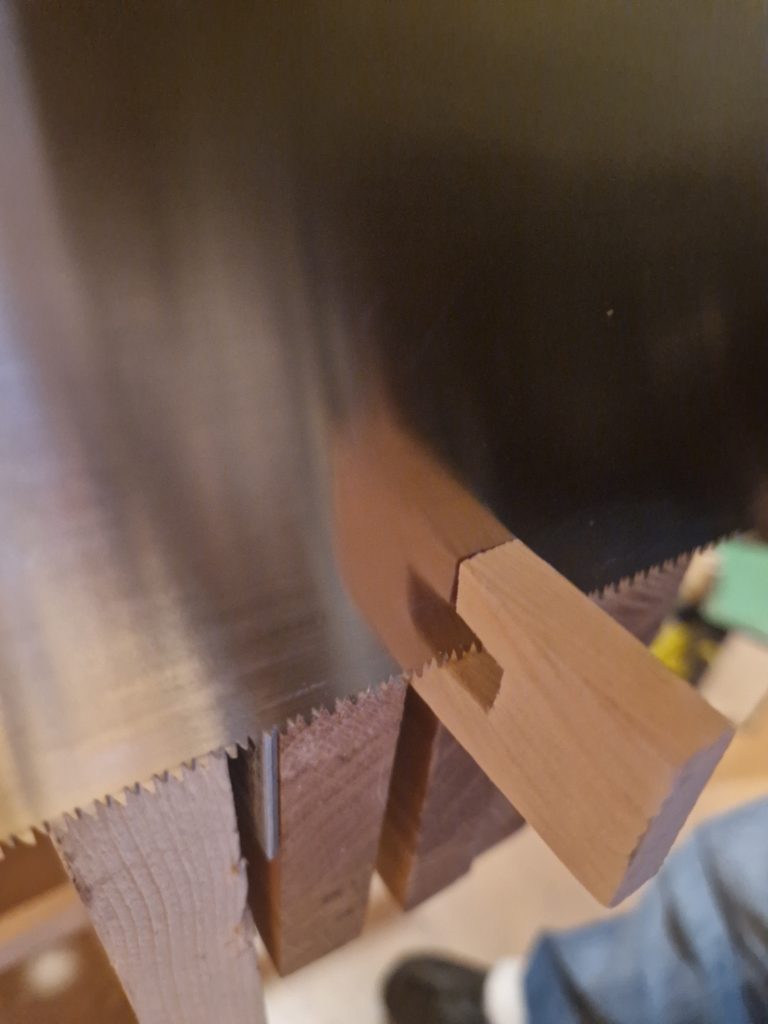
    I can shave my arm with the blades after this, and the chisels are a joy to use.

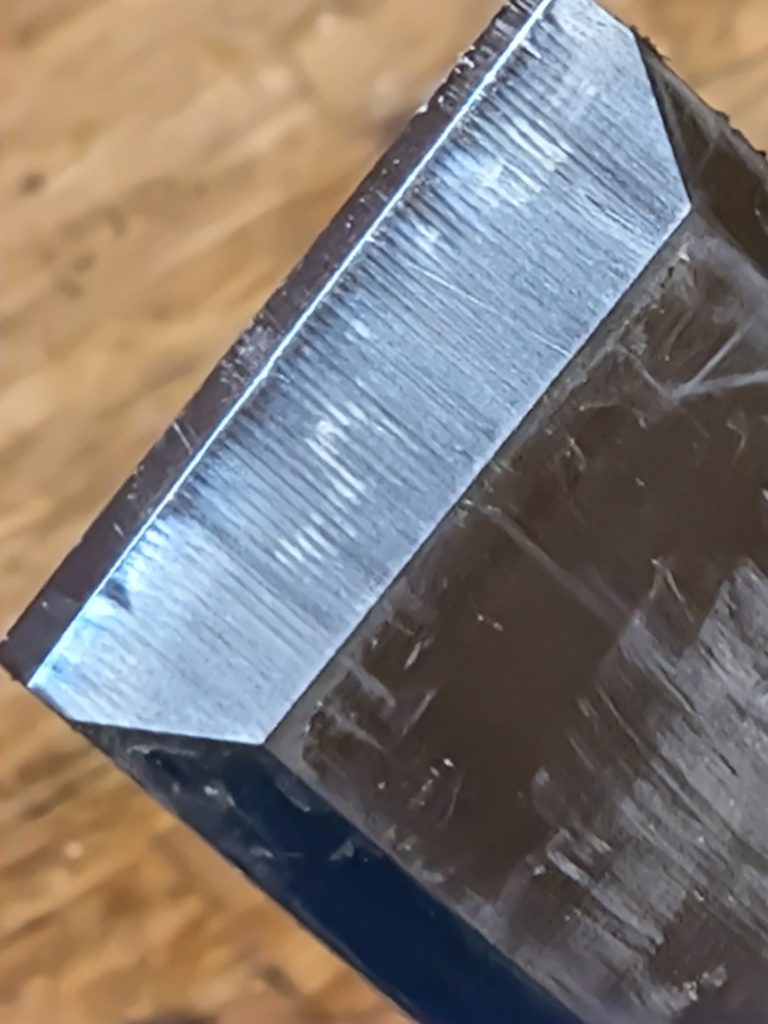
    (It is not cracks to the side of the edge, but wood dust after testing).

    So what do I prefer, diamond plates or wet stones? It is an unfair comparison since I had cheap plates, and better stones, but if we try to look beyond that, I would say I would like to have both. The plates are instantly ready and less messy on the workbench, but if I plan ahead to sharpen I would prefer the wet stones. So I will keep both, and I might invest in better plates eventually.

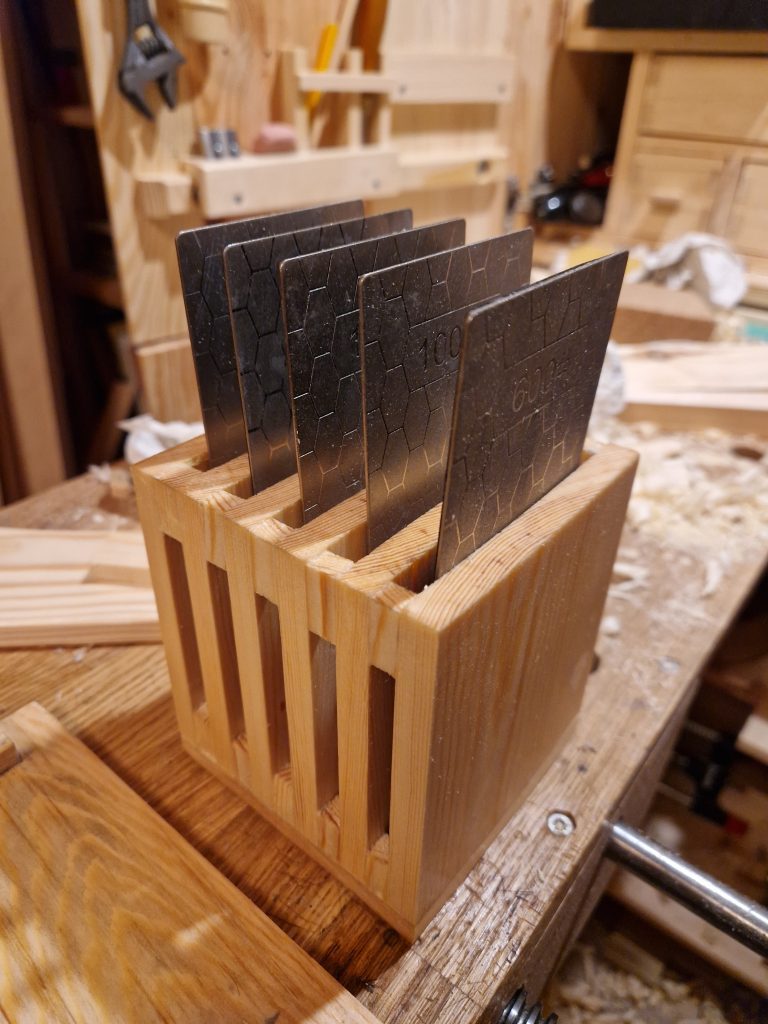
    The plates can rust if not dried quickly, so I built a rack for them where I place them after a quick wipe.

    The wet stones can last a very long time, but might need to be flattened from time to time. The kit I bought had a another stone to flatten the wet stones, so I should be all good.

    My grandfather, who made a lot of furniture, never used dull tools, and I will try to keep my own tools sharp too!

    Fediverse Reactions
  • A Workshop in a Cabinet

    I live in a flat in a city, and having a workshop was off the table. We also own a cabin where we spend most weekends. The cabin has an annex, and last year we had it insulated. This gave us an extra room for several things: My son plays (electrical) drums there on his old drum set, and we also work from the cabin from time to time, so an office was a nice addition. But I wanted a workshop, like I always hoped to get one day.

    As the room is not big and was supposed to be used for several things, a full time workshop was out of question. But then I got the idea of workshop in a cabinet! In the end of the room, we have a few cabinets, and a shelf. All from IKEA.

    OK. Easy enough to store the tools in a cabinet, but what about a workbench? Of course I would wish I had a big, heavy and sturdy workbench. But I don’t, and there is no room for it. So what kind of a workbench could I have stored in a cabinet?

    After a lot of thinking, I designed a foldable workbench in the lower cabinet that would be enough for smaller work:

    The profile of the bench was cut into the shelves

    The plate is made of oak, and the hinges is screwed into another oak plate going through a hole in the cabinet onto the wall behind it, so it really can take some force onto the wall.

    To use the workbench I need to do the following:

    • Swing up the workbench to a horizontal position
    • Fold down a leg to hold the plate.
    • One leg is not enough, so then I place another set of legs under the plate to take more weight. Sometimes I add a fourth one right behind the vice if I hammer on chisels there.
    • Then I use two box tensioners next to the hinges to make sure that the workbench isn’t wobbling in the hinges too much

    Voila! It all takes less than 10 seconds to set up, and although I could wish I had a bigger workbench and a more sturdy one, this has actually enabled me to do a lot of smaller work!

    The vice is from Sjöbergs.

    So what about the tools? Some are stored on the remaining shelves in the workbench cabinet, but the cabinet above that is what stores most of the tools:

    I made French cleats inside the entire cabinet, so I can rearrange it all as it suits me. A small cleat on the left side door is empty, so I can move whatever I use the most at the moment and hang it there while working.

    I made a small shelf with the drawers to store smaller things in, like screws, nails, dove tail guides etc.

    The plane rack has magnets to hold the planers, and I can grab the underside of it and swing it up as it is has hinges on the top. I store my sandpaper under the planers

    So this is my little woodworking world! I know it isn’t much compared to more common workshops with larger workbenches, but it has opened up the world of woodworking to me, which makes me very happy!

    What do you think? How do you manage in a small place? I would love to see other small space workshop solutions!

    Fediverse Reactions
  • Wood puzzle

    Both my grandfathers made this puzzle and other wood puzzles in their time. My mom call them “trasbokk” in Norwegian (something like “a difficult thing”). As I am still quite inexperienced to woodworking, I thought it might be a fun project to make one myself.

    It is made by three pieces where two of them have the same shape

    The width has to be three times the thickness. I used my wooden scrub plane, and then my regular plane to get the right width (faster than sawing it, before cutting them to the right length. The shooting board is made by Adriena Preda, and it is excellent!

    With a double marking gauge, I got the markings right before chiseling out the middle.

    I made a few mistakes with my chisels. It didn’t help that the material was spruce either, as it is quite unforgiving and easily makes marks. But spruce was what I had.

    The last thing was to saw out the middle of two of them, before giving it a coating of colored shellac.

    It is not perfect, but it was very fun to make with a little time to spare the last days of my Christmas vacation.

    Fediverse Reactions